

This article introduces a tool you can use to work on three-dimensional DNA origami. The package is called cadnano, and it's currently being developed at the Wyss Institute. With this package, you'll be able to construct and manipulate the three-dimensional representations of DNA structures, as well as generate publication-quality graphics of your work.
Because this software is research-based, you won't likely find it in the package repository for your favourite distribution, in which case you'll need to install it from the GitHub repository.
Since cadnano is a Python program, written to use the Qt framework, you'll need to install some packages first. For example, in Debian-based distributions, you'll want to run the following commands:
sudo apt-get install python3 python3-pip
I found that installation was a bit tricky, so I created a virtual Python environment to manage module installations.
Once you're in your activated virtualenv, install the required Python modules with the command:
pip3 install pythreejs termcolor pytz pandas pyqt5 sip
After those dependencies are installed, grab the source code with the command:
git clone https://github.com/cadnano/cadnano2.5.git
This will grab the Qt5 version. The Qt4 version is in the repository https://github.com/cadnano/cadnano2.git.
Changing directory into the source directory, you can build and install cadnano with:
python setup.py install
Now your cadnano should be available within the virtualenv.
You can start cadnano simply by executing the cadnano command from a terminal window. You'll see an essentially blank workspace, made up of several empty view panes and an empty inspector pane on the far right-hand side.
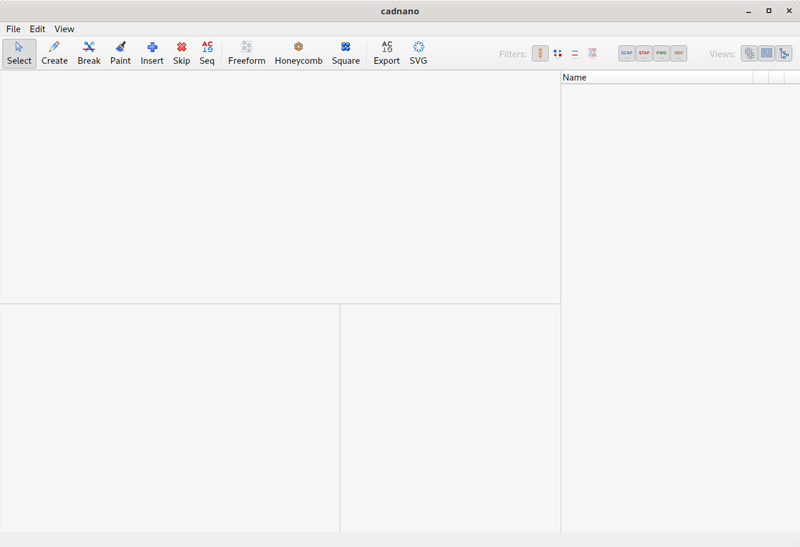
Figure 1. When you first start cadnano, you get a completely blank work space.
In order to walk through a few of the functions available in cadnano, let's create a six-strand nanotube. The first step is to create a background that you can use to build upon. At the top of the main window, you'll find three buttons in the toolbar that will let you create a "Freeform", "Honeycomb" or "Square" framework. For this example, click the honeycomb button.
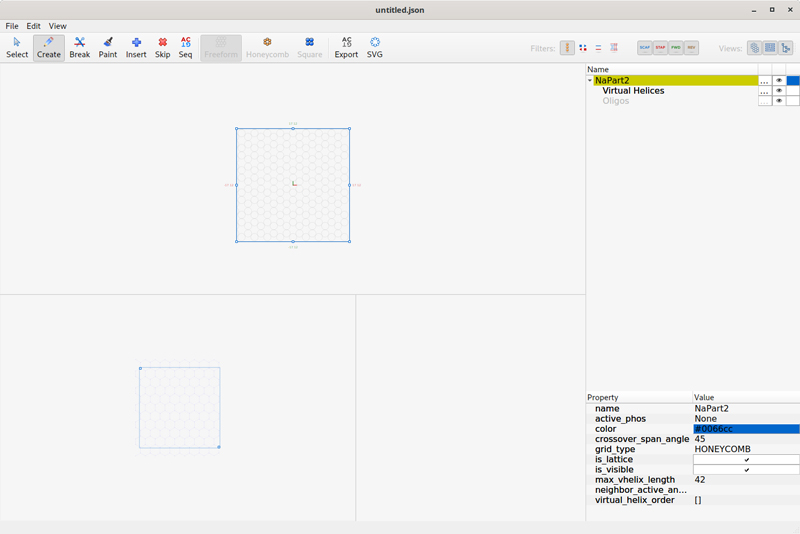
Figure 2. Start your construction with one of the available geometric frameworks.
You might notice that the initial rendering of the framework is not ideal for further work. You can zoom in and out using your mouse wheel within the view pane of interest. You'll also notice that the Create button in the toolbar is selected, meaning you're are ready to start adding DNA strands. Beginning at the nearest circle to the center, located just above the center, and going counterclockwise, click on the six circles around the center point.
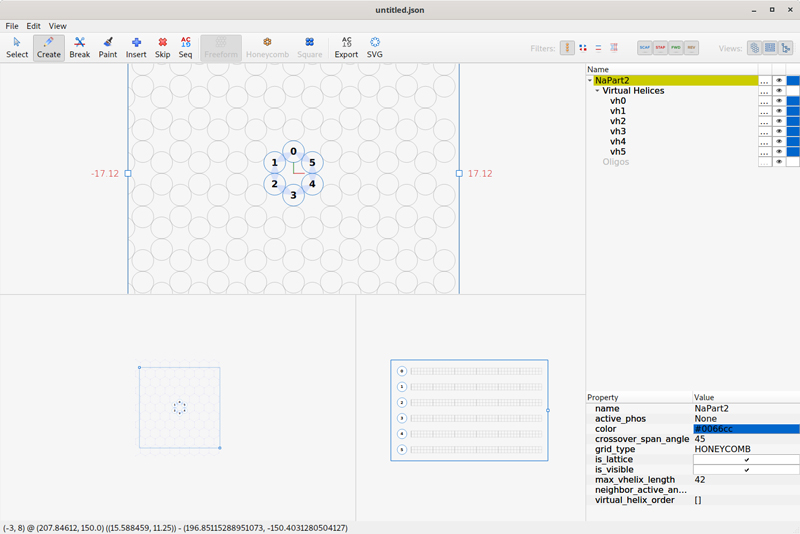
Figure 3. Start by creating an arrangement of DNA strands to define your origami structure.
These six strands now will be numbered from 0 to 5, going counterclockwise around the center point. This representation is what you would see by looking at your nanotube edge-on, as if it had been cut across its thickness. The inspector pane on the far right side now contains entries for six virtual helices. A new pane will have opened at the bottom right-hand side, where you can see detailed properties for the selected entry from the inspector pane.
At this point, you can zoom in on a particular pane to do further work. At the top right-hand side of the toolbar, you'll see three icons for the various available views. Click the "Toggle Slice" button so that it goes away and the Path viewer pane becomes the main pane.
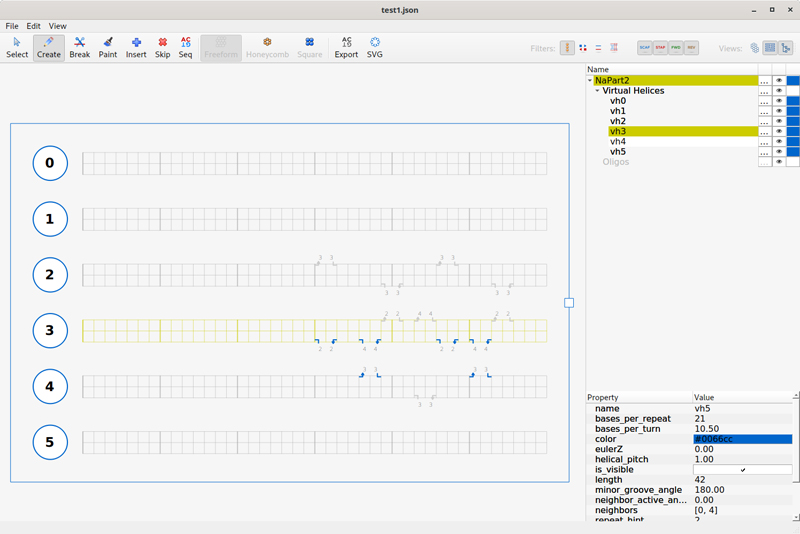
Figure 4. You can select a single viewer pane and zoom in on the DNA structure to do more detailed design work.
In this view, you can design your strands, breaks and crossovers in greater detail. Clicking and dragging on a particular strand will define sections of scaffolding, where other DNA segments will be attached. You'll see a new oligo entry in the inspector pane. You can add a DNA sequence by clicking the "Seq" button in the toolbar. Now when you click on a section in the diagram, cadnano will pop up a new window where you can either select from one of the predefined DNA segments or insert a custom one.
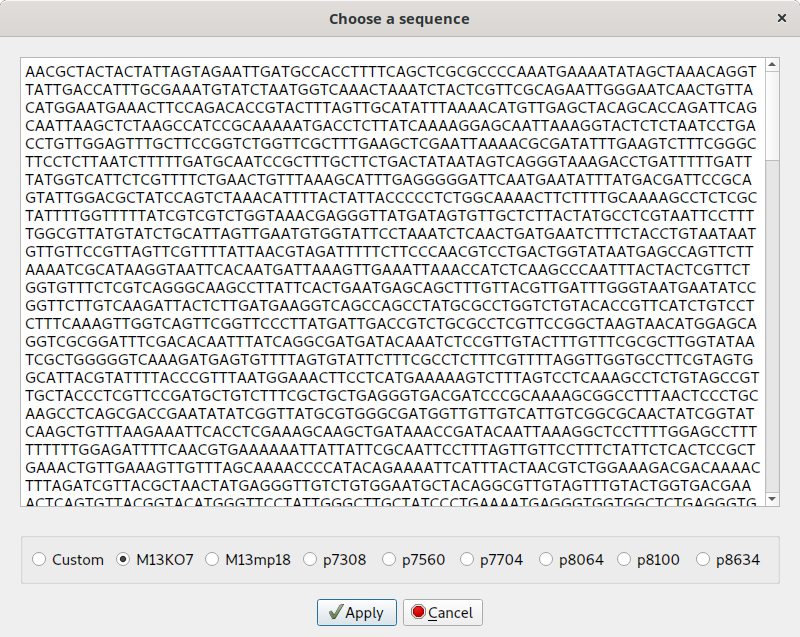
Figure 5. You can add DNA segments to the scaffolding you've built within your strands.
You can introduce breaks by clicking the "Break" icon in the toolbar, and then clicking on the section of scaffolding where you want to introduce the break. Continue repeating these steps to build your entire origami structure.
When you have built a system, you'll want to save all of this work. Click File→Save As to save your work and give it a filename. Cadnano uses JSON as the file format for the structures within your system. This means you easily can look at the file and even make manual changes if needed. You also can export the DNA sequences themselves by clicking the Export button in the toolbar. This writes the sequences out as a CSV file of each segment. You then can use this in other genomics software. Another way to save your work is to click the SVG button in the toolbar, which generates an image file in SVG format that you then can use in publications or reports.
Although I've been describing using the GUI provided with cadnano, that's not the only way to play with DNA origami. cadnano was written to act as a standard Python module, which means that you can import cadnano into your own Python code and use it to create and manipulate your DNA structures programmatically. This makes most sense in cases when you'll be generating a large number of systems, or if you're making more complicated systems that are difficult to create using a mouse and a GUI. A basic boilerplate looks like the following:
import cadnano
from cadnano.document import Document
app = cadnano.app()
doc = app.document = Document()
doc.readFile('myfile.json')
part = doc.activePart()
This boilerplate code creates a new app, and then a new Document within the app. The Document object contains everything for your DNA origami structure. The fifth line reads in a JSON file that contains the structure that you wanted to manipulate. The last line gets the parent Part object that contains all of the other parts, strands crossovers and so on. You also can use this Python module to create completely new systems that you can save for later use.
Hopefully, this short article shows you a bit of the functionality available with cadnano. Because it is used as research software and developed as such, it may not be as heavily worked on as other projects. But, if genomics and building DNA structures is part of your work, cadnano is definitely a good place to start.
See the cadnano documentation for more details.
—Joey Bernard